NanoStationM5 Outdoor
Last updated September 2, 2019 by Meitar M
We have moved on from NanoStations NSM5’s. We’re mostly using Ubiquiti LiteBeams and MikroTik OmniTik or SXTsq devices on rooftops now. We still support existing NanoStation installs, so this article is for those people.
Hardware
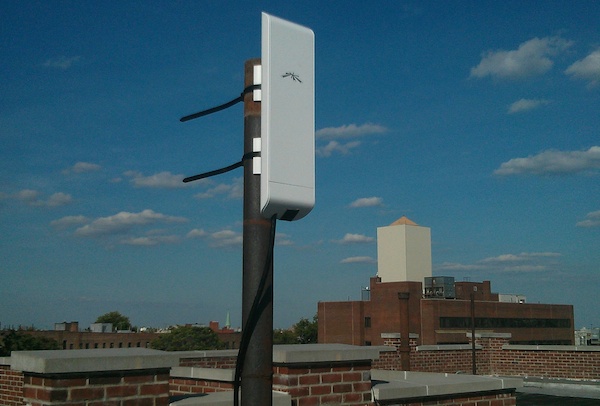
The simplest install is to use an existing vertical pipe and the two plastic ties that are included with the router. Also a thick PVC pipe can be attached to a railing using clamps.
If you need to aim the router up or down you can use a nanobracket.
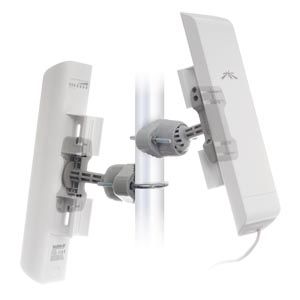
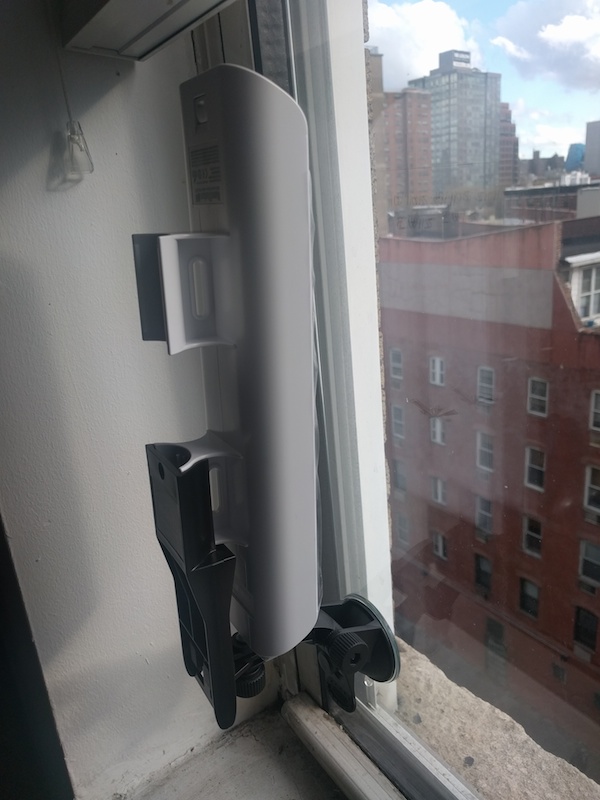
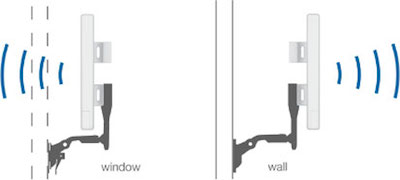
The Ubiquiti window/wall mount is a versatile mount that comes with a suction cup for windows or a screw mount for walls. The parts are reversible so the NSM5 can face either way and it also has vertical and horizontal adjustment to point in almost any direction.

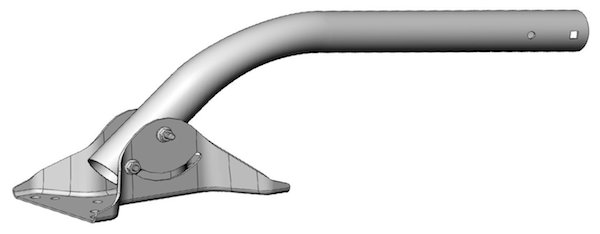
The Ubiquiti universal antenna mount can be used on rooftops or walls, where a very strong mount is needed.
Window
Outside:
On the outside of the window it is best to use a Ubiquiti wall/window mount. The suction cup is not recommended for long-term installs.
Inside:
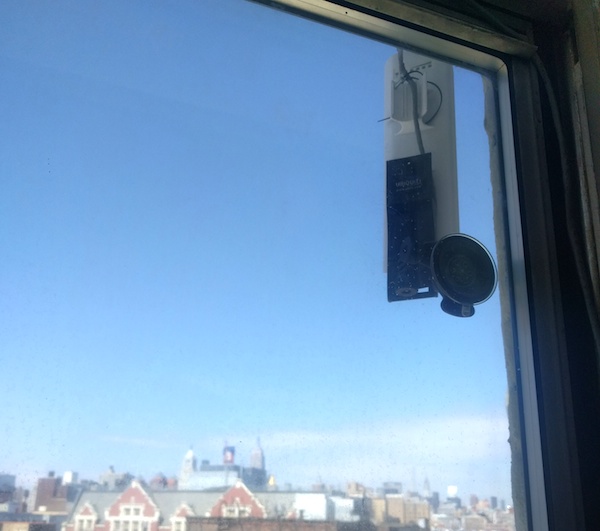
It is often more convenient to install inside the window. You will lose about 2db of signal but that is usually ok.
Velcro is the easiest way to install a NanoStation if it will be facing the same direction as the window. Use more velcro than in the picture (this install slipped down the window after six months!)

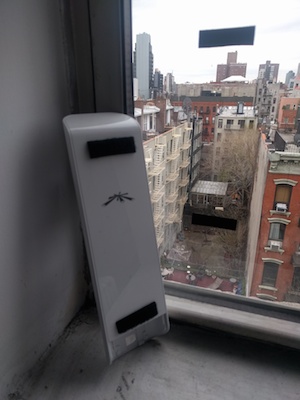
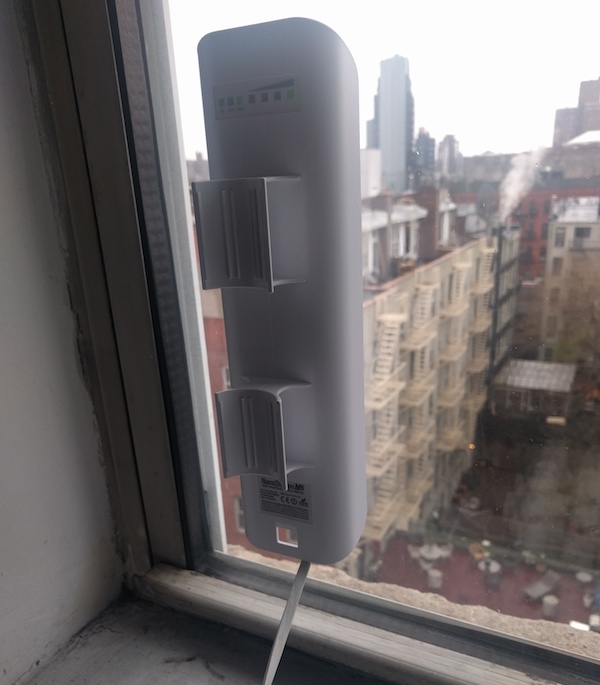
A Ubiquiti suction cup mount can be used if you need to point the router at an angle. The suction cup will fail eventually (usually on very hot or very cold days), so do not use this for long-term installs.
Rooftop
Often rooftops have an existing unused pipe or abandoned antenna pole that can be used.

A Ubiquiti bracket is good if you have a drillable surface such as brick or cement.

Wall
A simple wall mount can be made using a small, thin piece of wood and the two plastic ties that come with the router. This will not give you much choice in direction.
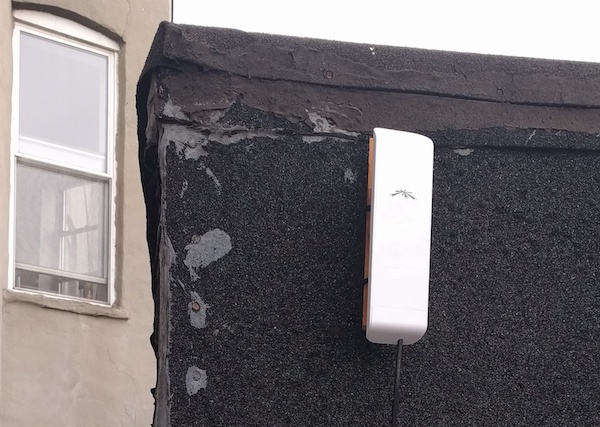
The Ubiquiti window/wall mount comes with both a suction cup for windows and a screw mount for walls. Use this screw mount on a wall so you can point the router in the best direction.

Tree
Sometimes a tree is the best place for your NanoStation.

Ethernet
Outdoor routers use “power over ethernet” (POE). A small adapter is used to add power to the ethernet. This means you only need to run one ethernet cable to the device.
The most important thing about the cable and is that it is “outdoor” cable. Otherwise the plastic will decay in the weather. We use Cat 5e. A cable run must be less than 100m (300 feet), or the signal and voltage drop will be too much.
There are two ethernet ports on the NanoStation and these are a source of confusion. Like most outdoor routers they get their power over the ethernet cable. They come with an adapter that adds 24V of power to the cable. Be careful plugging live cables into ports that are not expecting a voltage.
Here are two ways to wire your NSM5:
Setup 1 (client)
You are connecting to a remote gateway that is providing your internet. You plug the ethernet cable into the “main” (LAN) port of the NSM5. The cable goes to the power adapter POE. “LAN” on the POE adapter goes to the WAN of an indoor router.
(Sometimes people are close enough to the NSM5 that they don’t bother with the indoor router.)
Setup 2 (gateway)
You are sharing your existing internet with your neighbors. You plug the ethernet into the “secondary” (WAN) port of the NSM5. The cable goes to the power adapter POE. “LAN” on the POE adapter goes to the LAN of your existing indoor router.
Powering two from one adapter
If you need to install two NanoStations you can simply run a cable from the spare ethernet port to the other NSM5. If the POE is plugged into the secondary port (gateway setup) then the “main” will act as passthrough to the second NSM5.
To turn on passthrough from main to secondary you need to do this (source)-
# older nanostation XM (pre-2015)
echo 8 > /sys/class/gpio/export
echo out > /sys/class/gpio/gpio8/direction
echo 1 > /sys/class/gpio/gpio8/value
# disable with echo 0 > /sys/class/gpio/gpio8/value
# nanostation XW (2015-)
echo 2 > /sys/class/gpio/export
echo out > /sys/class/gpio/gpio2/direction
echo 1 > /sys/class/gpio/gpio2/value
# disable with echo 0 > /sys/class/gpio/gpio2/value
I’ve found this setting doesn’t stick after reboot, so you need to add it to /etc/rc.local (local startup)-
http://admin.qmp/cgi-bin/luci/admin/system/startup
LAN vs WAN confusion
On the NSM5 the “main” port is LAN and the secondary is “WAN”. This is the most confusing thing about the router and mixing this up is the cause of most problems. Always connect WAN on one router to LAN on another!
If you connect LAN to LAN it will be unstable as each LAN port usually has a DHCP server and both ports will be trying to assign an IP address to the other. Also don’t connect WAN to WAN as this makes no sense. This is by far the biggest problem with people setting up routers and it is so simple to avoid.

